At PIO we always want to improve our students knowledge and skills. That is why this year we will introduce some technology to the speech contest.
When giving a speech a great way to make it more interesting and creative is to use pictures to show everyone what you are talking about. In the past years students have shown pictures on a poster or paper. Because a paper is quite small, it was sometimes hard for the judge and the audience to see the picture clearly.
That is why we will now introduce you to an easy and modern way to fix this problem: creating slides on the computer.
Using Google Slides to create a presentation
Step 1:
Open https://www.google.com/slides/about/ in your web browser and log in with this account.
Email: piospeechcontest@gmail.com
Password: IlovePIO2019
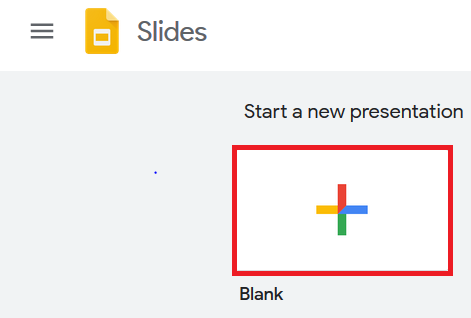
Step 2: Create a new presentation by clicking on the button “Blank”.
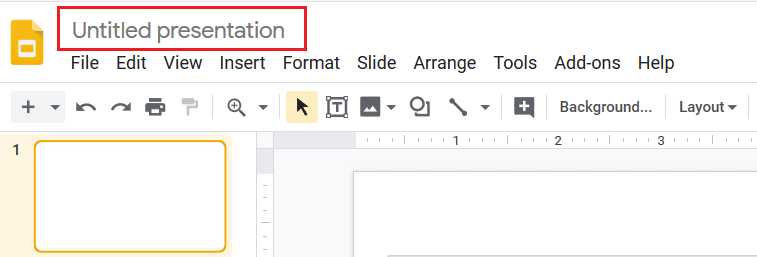
Then change the title of the presentation to your name and Grade.
Making a title slide
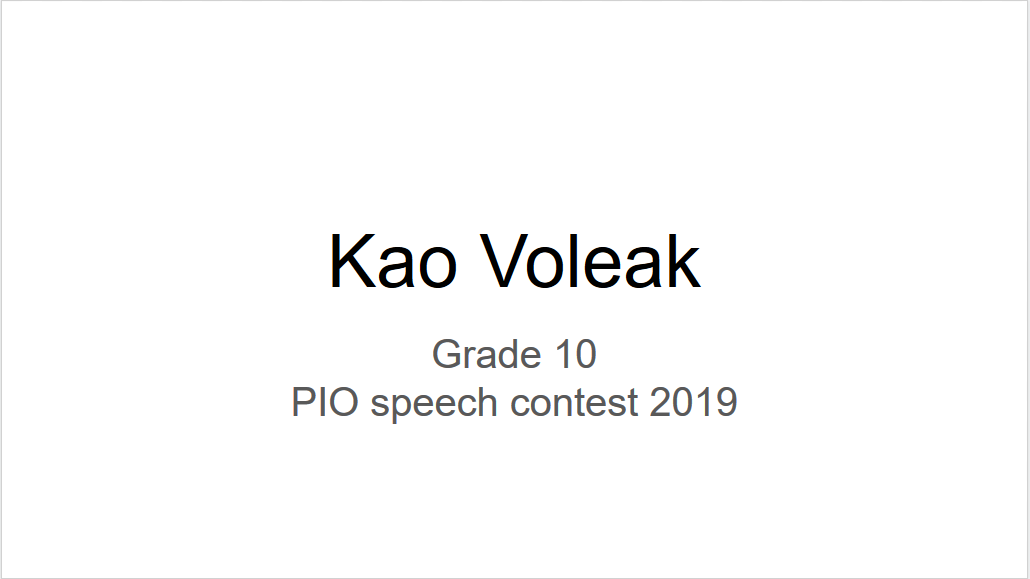
Step 1: The first slide we will make is a “title slide”. On this slide you can write down your name, grade and “PIO speech contest 2019”. It should look like this:
Step 2: Now the slide has all the important information but it looks quite boring. We want to change the slide so that it is more creative and colorful but still simple and easy for you to do.
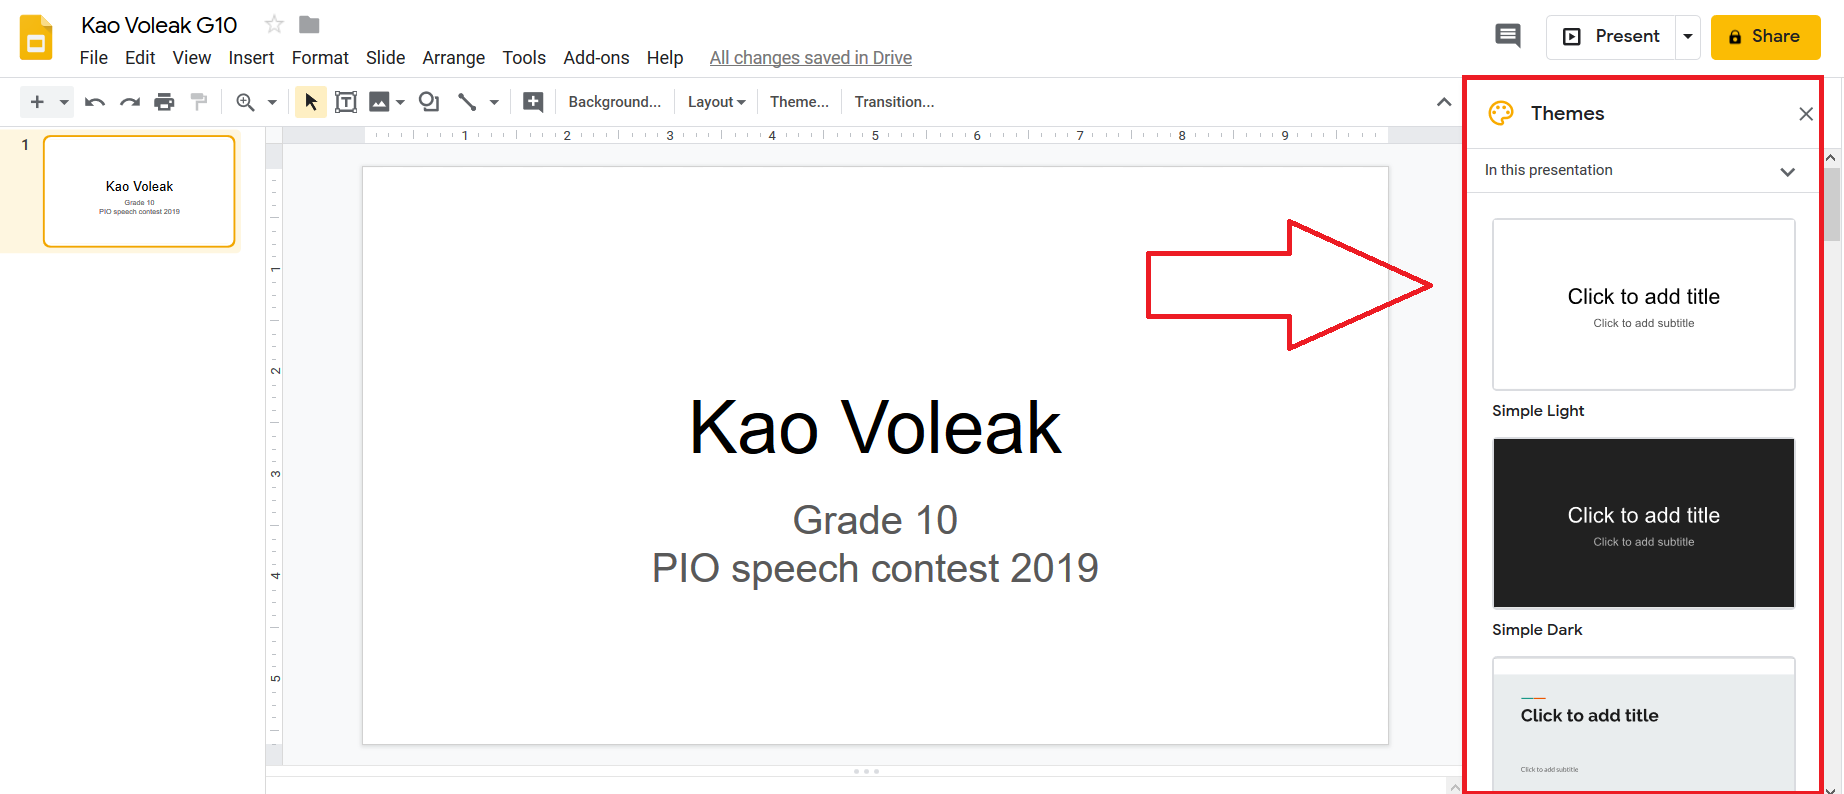
It’s easy to change the style of the slide by selecting another “theme”. Themes are different designs that you can apply to your slide. You can find them on the right side of your display.
For the speech contest we want to select the theme “Gameday”. Please look at the list of themes. When you have found the “Gameday” theme select it.
Now your slide should look like this.
Step 3: The next thing we want to do is add the PIO logo. Oben this link in your web browser: https://peopleimprovement.org/img/PioLogo.png . You should see a picture of the PIO logo.
Click on it with the right side of your computer mouse and save the picture to your computer.
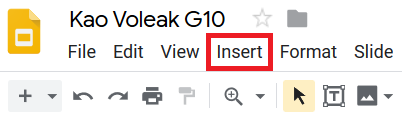
Now we want to put the picture on our slide. Just click “Insert” → “Picture” → “Upload from computer” and find the PIO logo in your folders.
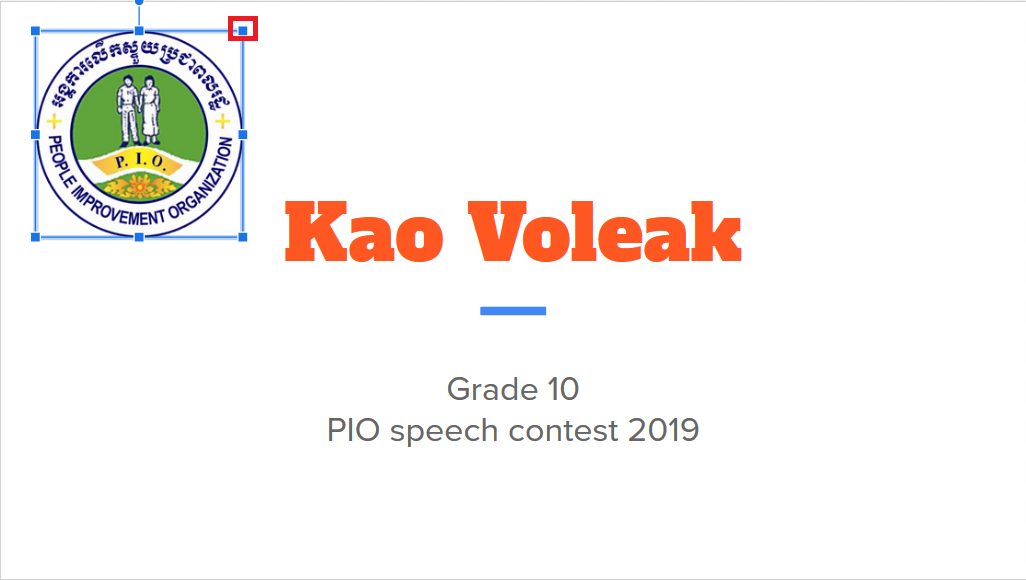
You can make the picture smaller by clicking on one of the four corners. Move the picture to the top left corner. Your slide should now look like this.
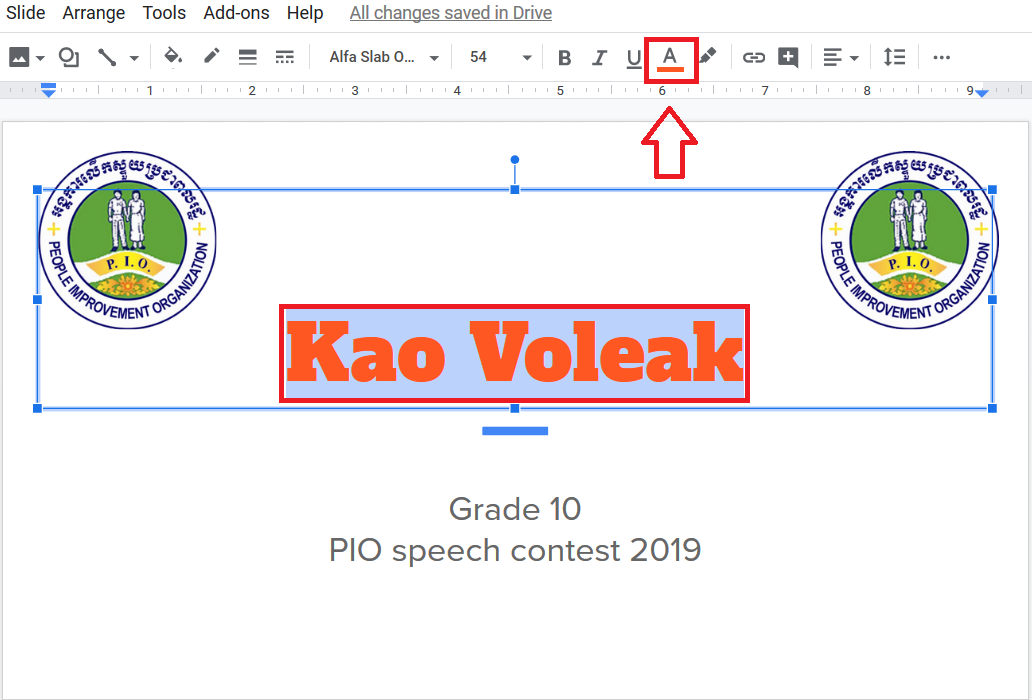
Add one more PIO logo to the top right corner of your slide.
Step 4: When you’re finished, the last step is to make the color of your name match the PIO logo. Select the text, click on the colour button and choose one of the green colours.
Good job! You have created your first slide.
Making a picture slide
Step 1: Before we can make our second slide it is now important that you think about your speech. Would you like to show some photos to the audience to support your message and make the speech more interesting? What should the picture look like and when do you want to show them?
If you are not sure about your ideas, you can discuss them with a friend or ask your teachers.
In the end, you should decide on a maximum of 3 pictures.
Step 2: Once you have a clear idea about the pictures you are searching for you can open https://speechImages.google.com/ in your web browser.
Just put some words that describe the picture in the search box and look through the speechImages to find the perfect one.
When you have found a good picture you can save it by right clicking your mouse.
Step 3:
Now we have to create our second slide.
In the menu select “Slide” and then “New slide”. The second step is to select “Layout” and click on the box that says “blank”. This will make sure that your slide is completely empty before you add the picture.
Step 4: You can add your picture just like you added the PIO logo to your slide by clicking on “Insert” → “Picture” → “Upload from computer”.
Excellent! You know everything to create slides for the speech contest.


